DIY Candy Corn Plushie: Easy Fall Crochet Tutorial
Okay, so let’s talk crocheted plushies/amigurumis!
**All credit for this crochet pattern goes to @wooli.amigurumis. If you’d like a cuddle buddy of your own, you can find this pattern on their instagram and the Ribblr app to follow along.**
Where did it all start?
I’ve been hooked on crochet for roughly three years now, and it has quickly become my top pastime. What began as crafting silent stress-relief toys for my pup has blossomed into an incredibly enjoyable and fulfilling small business. And as autumn approaches, I’m excited to share my review of this adorable candy corn plushie. Whether you’re a fan of the classic autumn treat or simply adore cute collectibles, this candy corn plushie pattern is a quick and rewarding project for crocheters of all skill levels. Plus, it’s the perfect size for a desk buddy or a travel companion.
Starting with the tools you will need for this project.
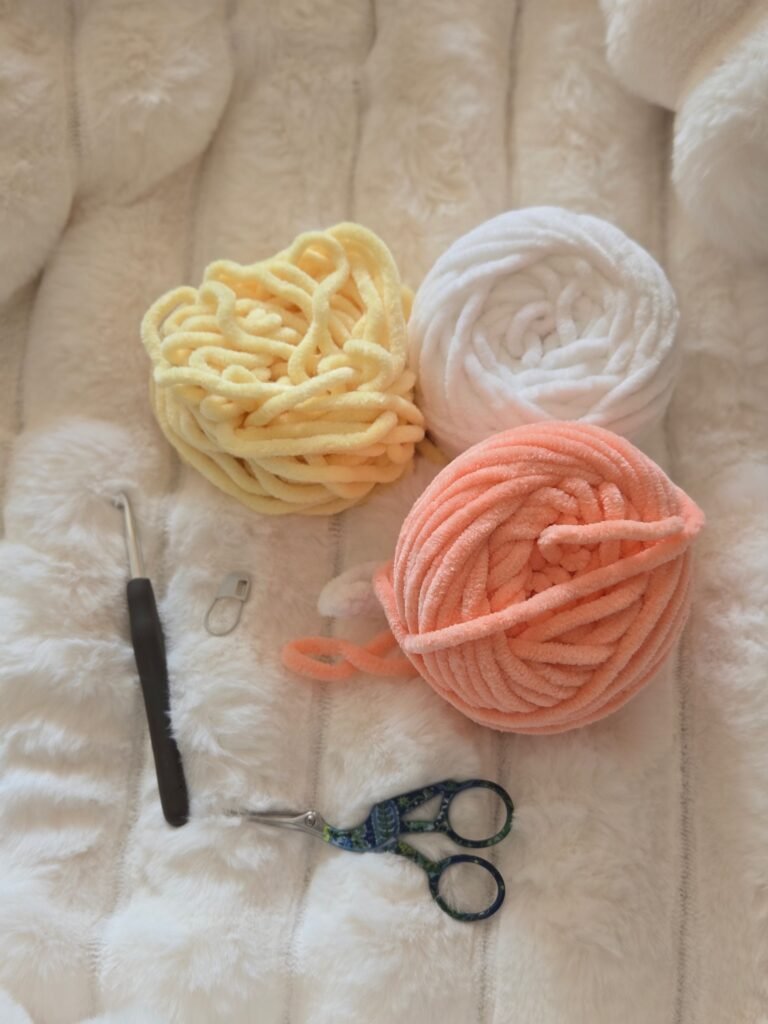
The size of the hook you choose will depend on the weight of your yarn. Personally, I prefer a tighter stitch, so I typically go down one to one-and-a-half sizes smaller than the yarn label recommends to ensure the stuffing stays neatly tucked inside.
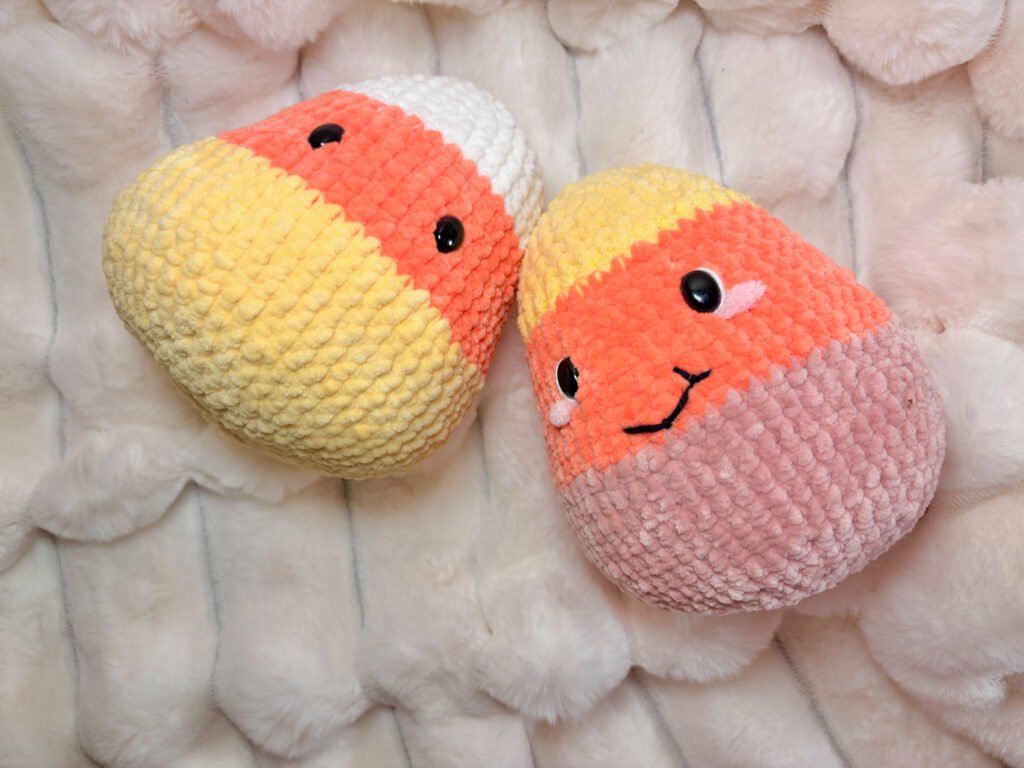
I made this plushie with two different verisons. Simple and advanced. Simple just includes the eyes and advanced involves sewing a face onto the plushie.
This starts just like most plushies. Starting with your white yarn it’s time for the magic 👏🏼ring 👏🏼of 👏🏼doom. You will work this into 6 stitches and mark the stitches as you go. Once it’s time to color change pick up your orange yarn and add it into your plushie and increase the stitches as you go through the pattern and remember to use your stitch marker as you crochet through each round. This helps you keep track of which row you are working on. You should now be 65% done with your plushie.
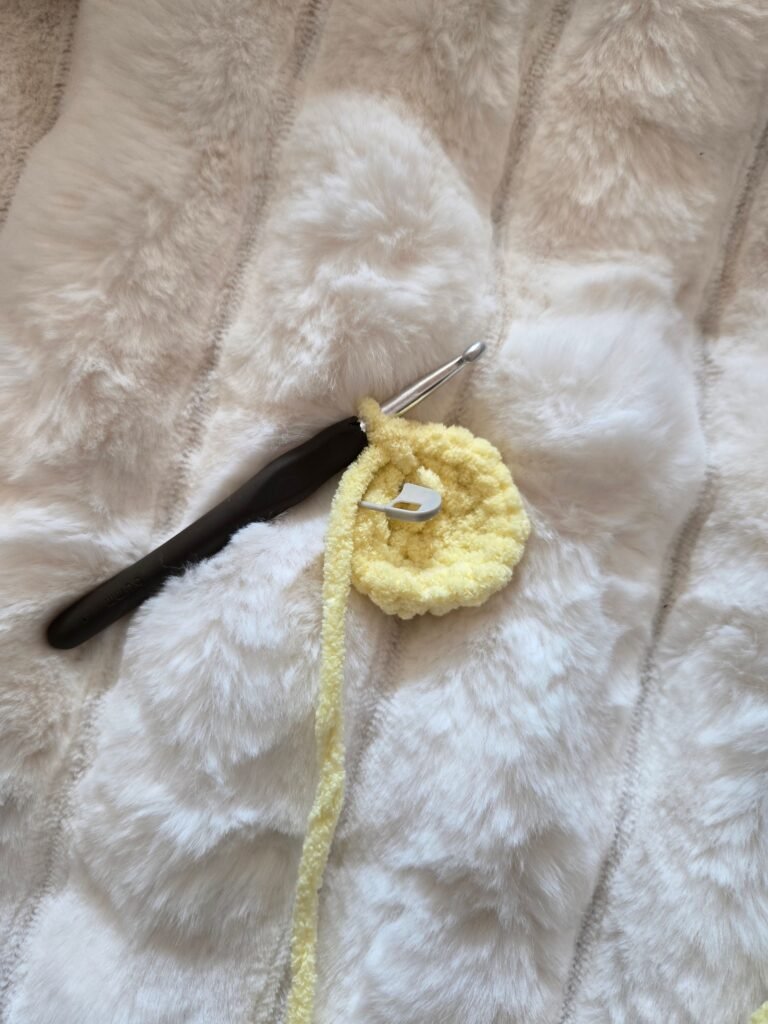
Now that you’ve reached the midsection of your plushie, it’s time to attach the amigurumi safety eyes. Secure them firmly in place; your project should look something like this.
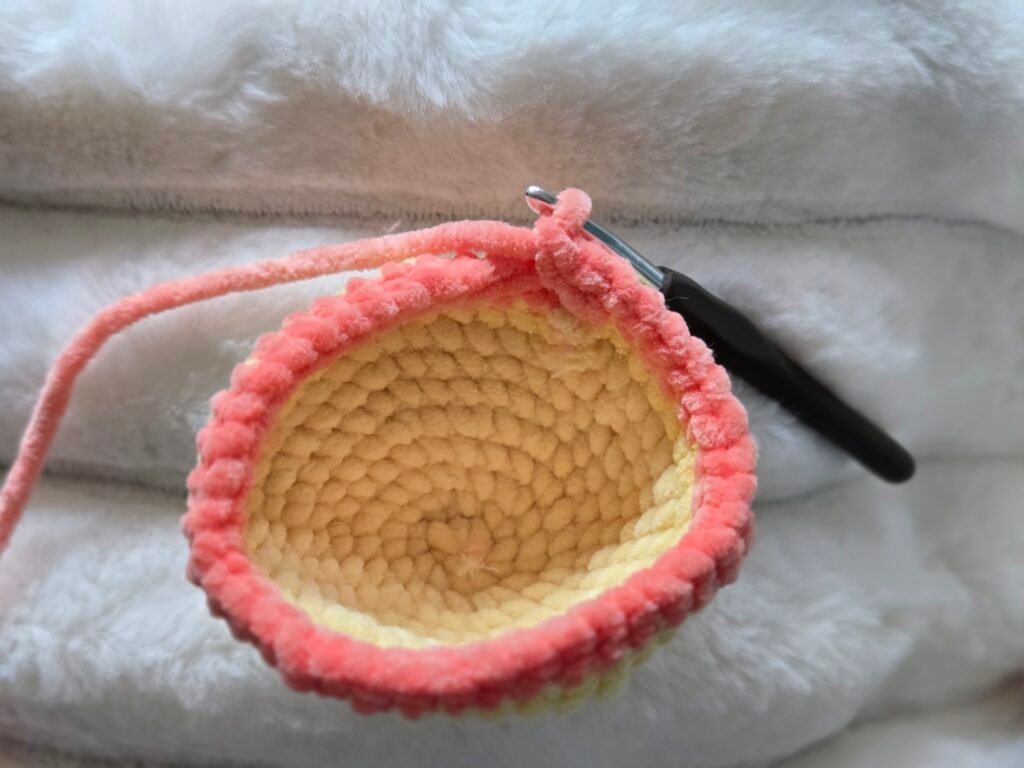
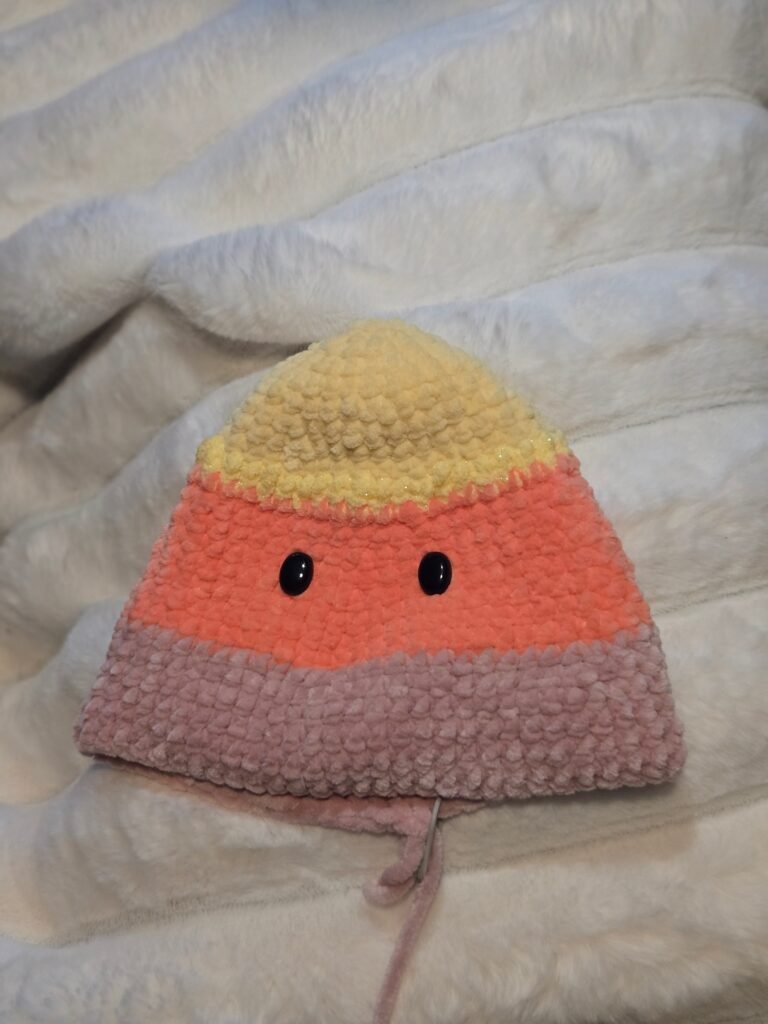
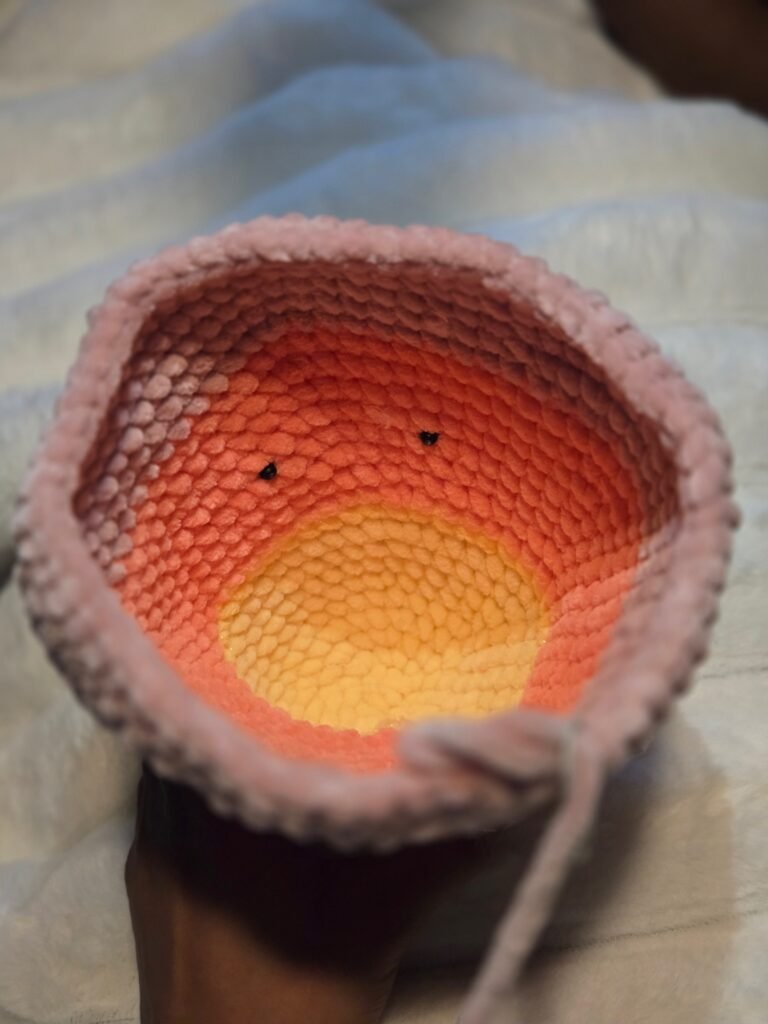
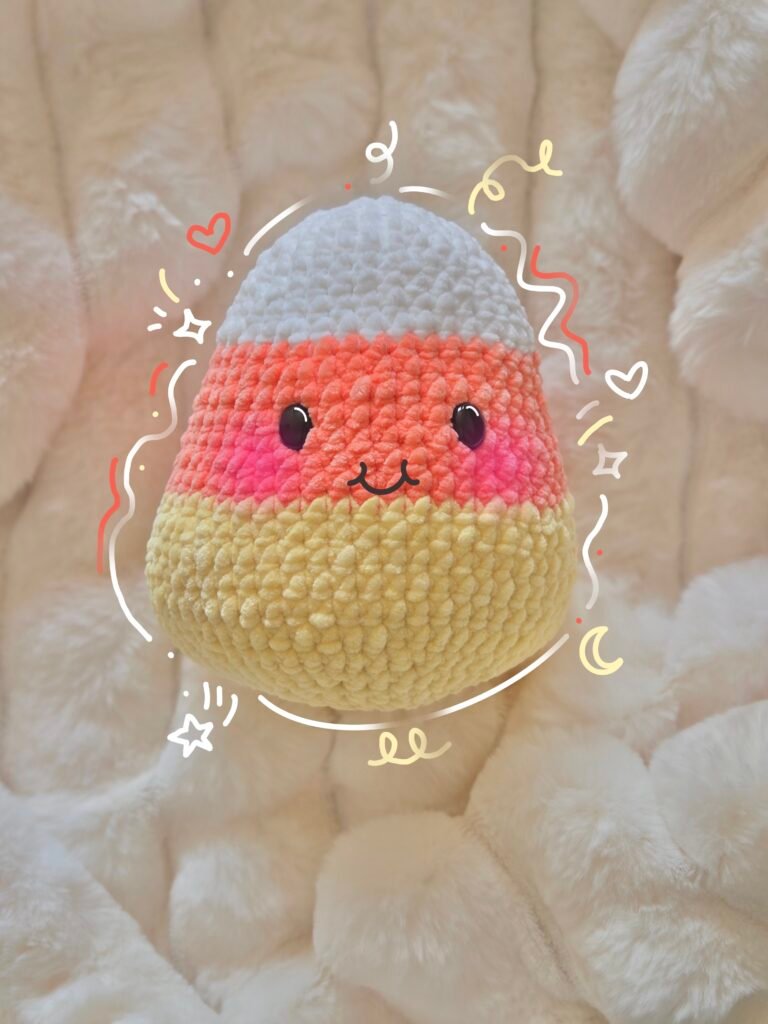
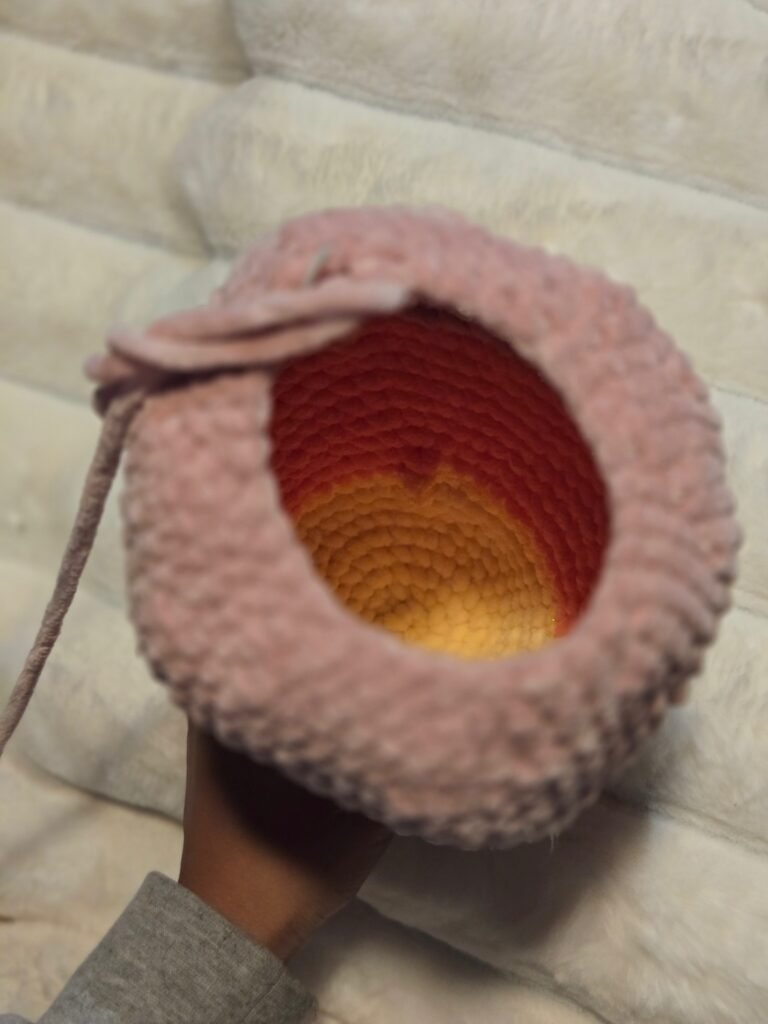
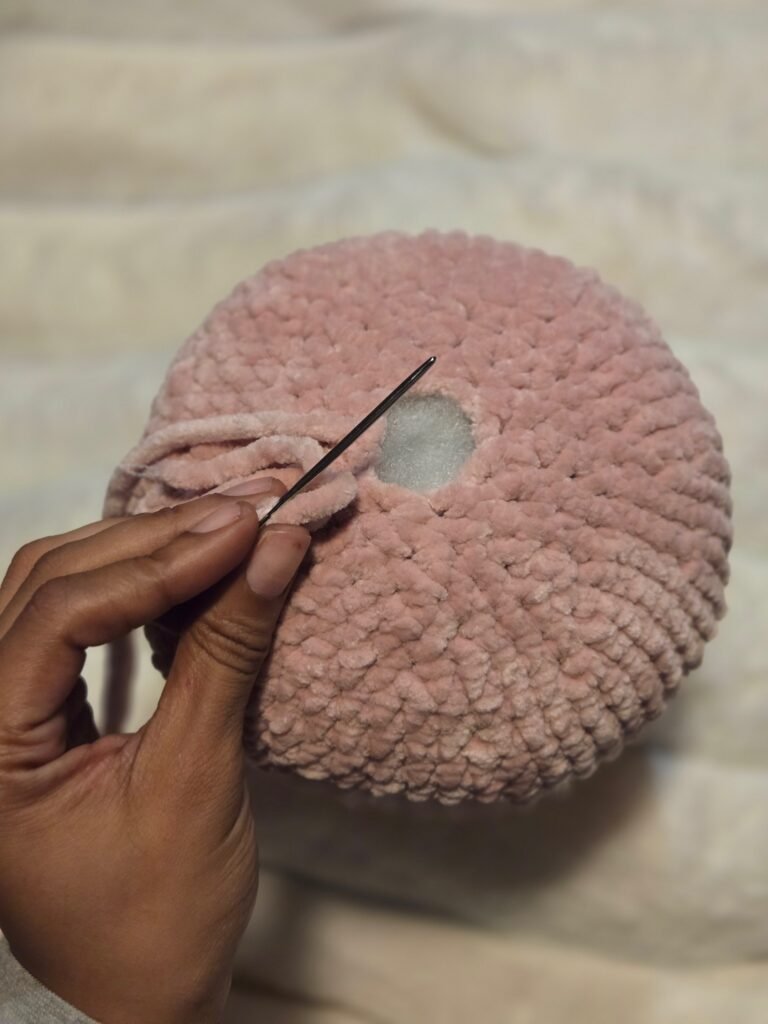
Next, switch to your yellow yarn to create the final color section at the base of the plushie. When you have about three to four rows remaining, begin stuffing the plushie with poly-fill. To finish, I prefer to sew the opening shut, though you can also crochet it closed before snipping the yarn and tucking the remaining tail inside. If you prefer a simple aesthetic, your project is complete at this stage.
For decorating your amigurumi you will need:
For this creative step, I typically sew on a simple smile using black acrylic yarn, then add a small dimple to give the plushie extra character and charm.✨️For the facial details, I add blush underneath each eye using two stitches for spacing. Next, using white acrylic yarn, I create a highlight by inserting my needle at the bottom of the eye and pulling it through to the top. I guide the yarn toward the outer edge of the eye, pulling it taut to create a subtle shimmer, then repeat the process on the other side. Finally, I trim the yarn tails short and tuck them into the plushie. Voilà—your adorable Candy Corn Buddy is complete! 🥰